I have been a big fan of Tommy MacDonald since he hit PBS 3 years ago, and fully support him in carrying the torch for Norm as the promoter of all things wood on PBS for the current generation. I have to admit that Norm inspired me to get into woodworking many years ago, long before I had the tools and the space to make anything.
 |
| Tommy and his Toolchest |
I had the occasion to meet Tommy this fall at Woodworking in America and had a chance to chat about his show; he also did a little demo/chat on his toolchest project which appeared in this season's episodes. This toolchest however has been one of his signature pieces from the beginning and the build along for the original has been on his site from the beginning. I have always wanted to build this project as I think it is important for every serious woodworker to build a toolchest sometime in their lifetime. This design features many elements which make it a challenge for even the most experienced wood butcher.
 |
Wood layout, couple of nice pieces of Cherry need to be
oriented to maximize the nice sapwood stripe in the joint |
This project is my first real attempt at dovetails for case construction and like most folks a little intimidating, and unlike others, I am not going to use a lot of time practicing cutting dovetails on firewood - my approach is to dig right in. I used David Barron's dovetail jig which I have to admit is the best jig I have tried for cutting dovetails and is difficult, even for me, to screw up.
My design has a few departures from Tommy's original, because of a screw-up (insert swearing here) the front divider strips are not dovetailed into the front of the case - the dadoes look just fine - really they do... I have also altered the drawer layout to give me full-width drawers on the top, this better suits the things I want to store in this chest.
Following are a few pictures from the build, the case is now complete and just need to finish cutting the drawers and fitting them which takes quite a bit of time - test-fit, plane, test-fit again, repeat as necessary. Remember to click on the pictures for a closer look.
 |
| All the tails cut on the case sides |
 |
| Using David Barron Jig to cut the tails on the case top |
 |
| Test fit of the first corner - doesn't suck! |
 |
Case sides with dadoes cut for interior partitions, cleaned up
with the router plane |
 |
| Mother of all glue-ups to ensure its perfectly square |
 |
I am testing out a prototype joinery float from Liogier rasps from
France, it makes quick work of the these faces right off the
table saw. |
 |
The interior dividers all ready for glue-up, I used oak for these
as I had quite a bit laying around. |
 |
Layout of the front pieces was critical to get that grain
flowing across the two boards. the narrow pieces are the
divider pieces that fit between the drawers. |
 |
| The dividers test fit with cherry fronts added, ready for trimming. |
 |
The front dividers glued in place and the drawers fronts
friction fit into their openings creates a pleasing look. |
 |
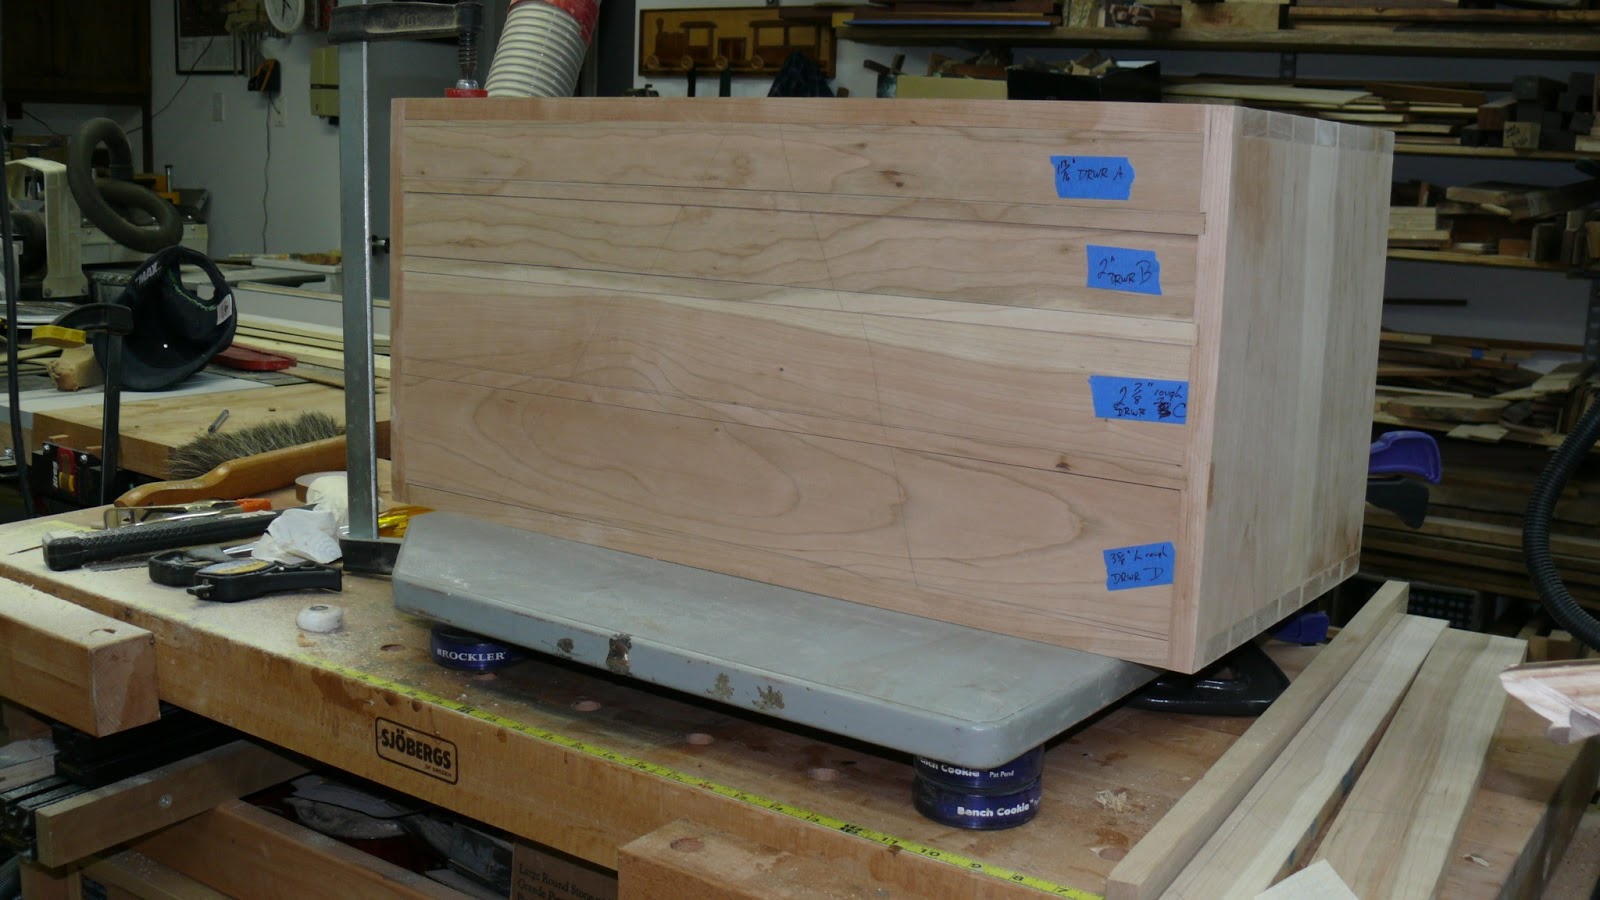
The case with a coat of finish on it ready for some drawers! the case is on its back, the long
face is the case's top. |


Rich - Thanks for posting the build along. I really like the continuous grain around the carcass. What finish did you put on the cherry? Whatever it is, it looks wonderful.
ReplyDeleteI used my new favorite finish, Deft Natural wipe-on poly/oil blend. Of course finish starts with the prep and I take the finish down to 2000 grit which makes the wood look like it has a coat of finish right off the sander. It almost glows.
DeleteHi Rich, Looks a very nice chest, I look forward to seeing it finished, although I know there is a lot of work yet to go! I like the inclusion of the cherry sap, it looks especially good the way it wraps around the cabinet. All the best David.
ReplyDelete