A place for me to display some of the varied projects that come out of my shop, as well as to "talk" about some of my experiences working with wood.

Thursday 29 August 2013

A must have tool that does not cost a mint!!! Binding Tape


Lots of binding tape to to hold binding in place while it cures. 
Last year I sent a note off to Rob Lee at Lee Valley and suggested that he should carry an additional product – luthier binding tape. Myself and many other luthiers use binding tape to hold on pieces of binding for a guitar body until they dry. Rob checked with one of his staffers who is also a luthier and it was “oh yea, great stuff, use it for lots of things!”.


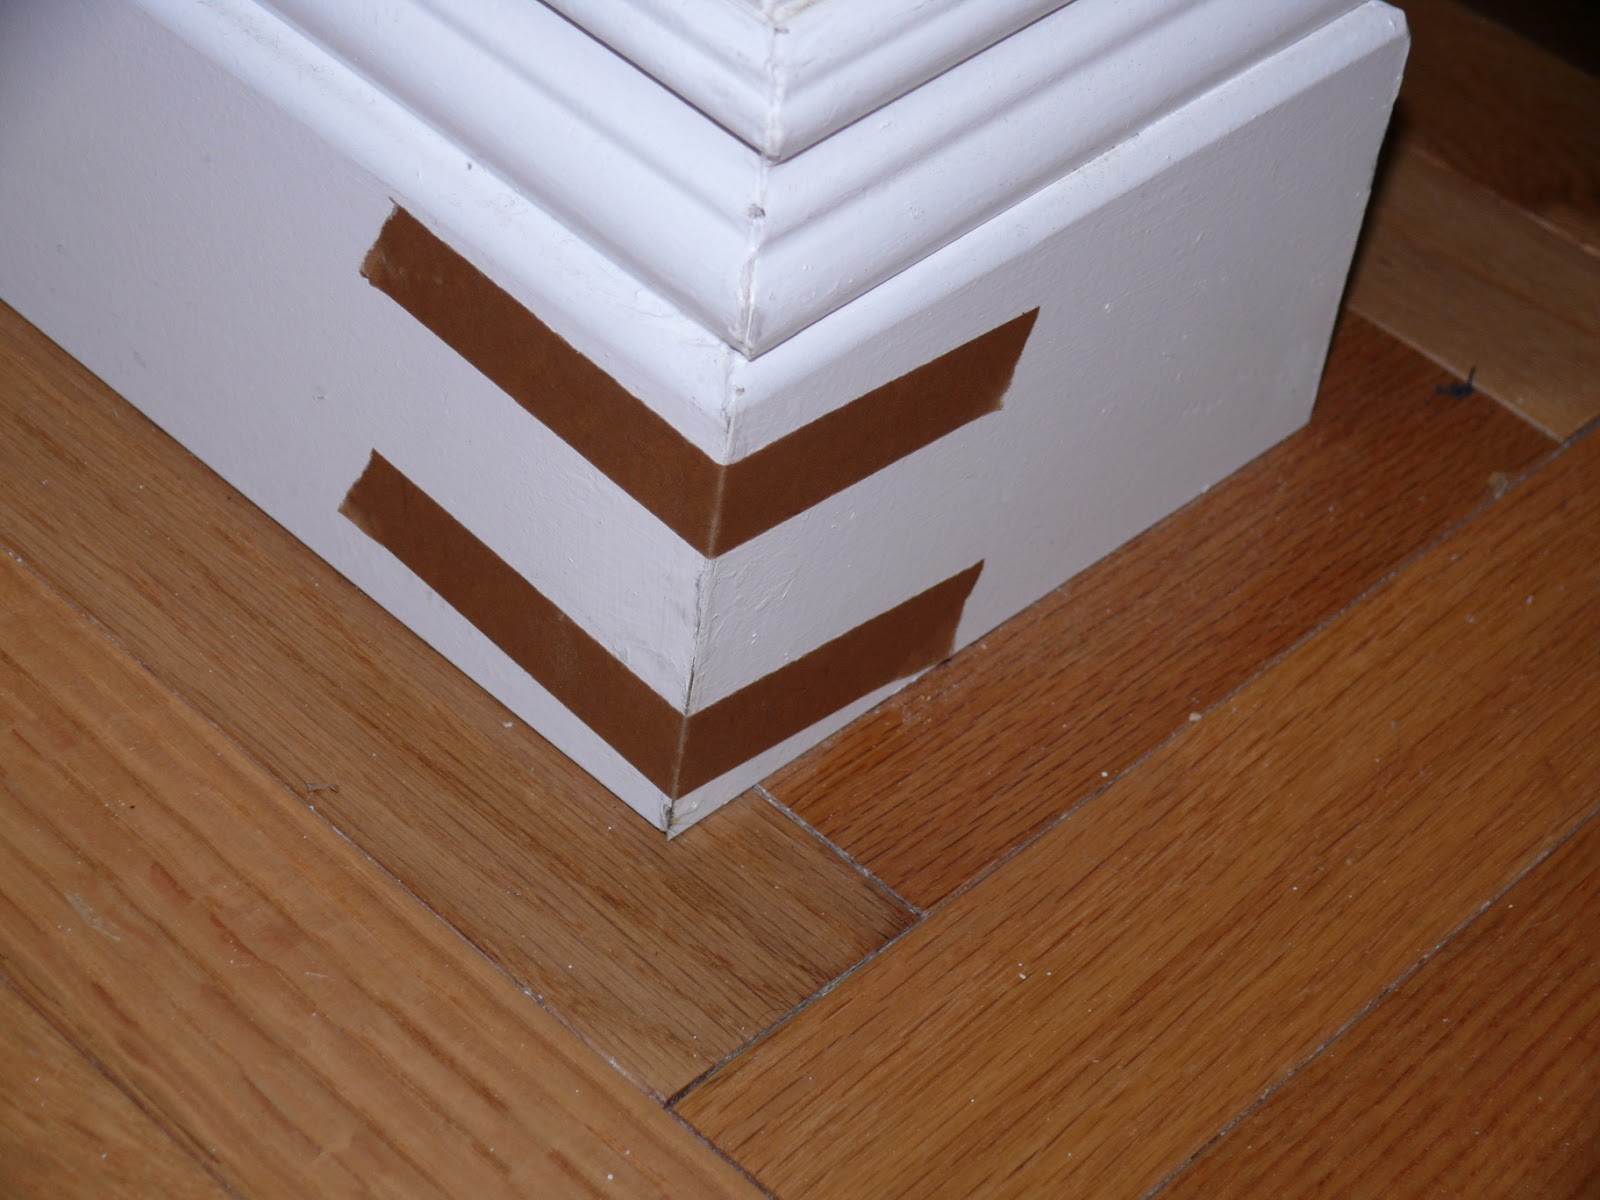
A not so guitar-based use of the tape for home jobs.


In addition to its intended use, binding tape has many other uses in the shop and I have used it on many of the other projects I build. The issue for the non-instrument builder is buying it from a non-luthier supplier. This was exactly the problem Rob Lee ran into with trouble finding a supplier for this product. Looks like he made it work!


Now if you look at the first picture of the guitar, that binding tape is paper based and looks sort of like masking tape, but it is in fact quite different, and so is the 3M Binding Tape. Normal masking tape fails miserably in this application; as you apply the tape to the edge of the guitar and use the tape to pull the binding tight and fasten the tape on the top – regular masking tape tears or breaks almost every time. Binding Tape on the other hand stays intact and allows you to use the clamping force of the tape to position and hold it in place. Many builders use surgical tubing for this step – I have never been able to make it work for me.


While the tape that Rob found is not what I am used to buying from the luthier suppliers, it is refreshingly, maybe, just maybe, better. I bought a roll the day they released it on the website.
The tape I am used to using is stiff and very strong, both good attributes in binding tape, however this 3M tape is both of these things as well as possessing some elastic properties the others do not. This is a very good thing, so if you stretch it tight, it actually pulls tighter when you release it creating an actual clamping effect, better than the holding effect of the regular stuff.

3M Binding Tape in Action!
Why should you care? This tape is simply indispensable in the workshop and home improvement arena. It works where clamps do not, around baseboard corners, closing casing mitres, or for hundreds of different workshop glue-ups. As in this picture, edging is an excellent application for this tape, with no clamps needed and the tape does not leave residue on either finished or raw wood – get yerself some real soon!!


Monday 19 August 2013

Starting to Look Like Chairs

The chair project is moving along with considerable progress in the last few weeks.  While I have two sets of plans and templates for this chair, it has evolved into my own design with the templates used for joinery layout and geometry only.

New insert in place.
With my Veritas fence and hold-fasts installed.

One thing that was holding me up was the router table. My original Jessem had developed a hump in the middle of the metal plate which I think must have been there all along. after months of run-around by Jessem I finally ended up buying a new router insert as they could not help me at all.


This meant a new router top for my tablesaw as the new plates are the new industry-standard insert size. I made a new top from a couple 1/2" baltic birch pieces laminated together and covered with laminate. I used the Jessem template to rout the opening, added a few t-slots and I was back in business.


Back to Chair Building

Here are a few pictures to show the progress as things moved along.

The seats with the joinery cut and the front legs test-fitted.
The holes in the seat will define the depth for me in the carving phase.

Two hours from the previous picture to this point.
The seat is rough-carved, ready for some assembly.

Test fitting of the front and back legs, as Norm would say -
"ready for some assembly".

Before gluing the legs have been rough shaped on the spindle sander,
to make less work carving on the assembled chair. Here the back legs
are being glued on.

As I mentioned in the last blog, I was fretting over the arm design.
I do not favor the traditional style so set about coming up with my own.
This picture shows the original in blue dashed lines and my freehand
sketch of the one I want to use. A little flatter and less dramatic.
The actual shape would be refined on the chair.
The arms rough shaped, glued and screwed on,
Ready for some serious grinding and carving work.

The backs glued and screwed in place, ready to remove all the
bits that don't look like a chair.

Here's where I am at this point. I went with a round-over on the top of the crest rail. A large radius curve
on the tops of the arms, and likely rounded on the bottom edges (TBD). All the transitions have been rough ground and ready for some refinement work. many hours of  rasping and sanding yet to go!