Another Dining Room Table project
It was the turn of the next son to have his dining table built and as always the design process was an iterative one. Lots of online pictures were downloaded, visits to furniture stores were endured, sketches were done and finally we had a design. This was to be my first foray into live edge furniture, which many woodworkers see as a modern day scourge which they abhor, some woodworking & furniture groups I subscribe to specifically forbid posting live edge projects; like its some modern day guerilla furniture movement - I am not that narrow-minded. I say "each to his own" and embraced the challenge.

 So if you have read my blog before, you know what this means - its model time. I spent some time sketching it out and coloring in with watercolor paints to try out different combinations of colors on the base.
We agreed the vertical parts of the base would be stained black and the rest natural.
A few progress shots follow:
 |
| The pieces of spalted maple for the top had some wind in them, so to compensate, the pieces were epoxied together with a bit of offset and the excess material would be removed to find the flat part underneath. |
 |
| With as much as 1/4" of material to remove in opposing corners, I resorted to power to ease the workload. This meant using my Festool power planer, connected to the vacuum, it turned a potentially tedious and messy job into a manageable task. Enter the hands tools next, once I had the top down to 1-5/8" thick and flat. |
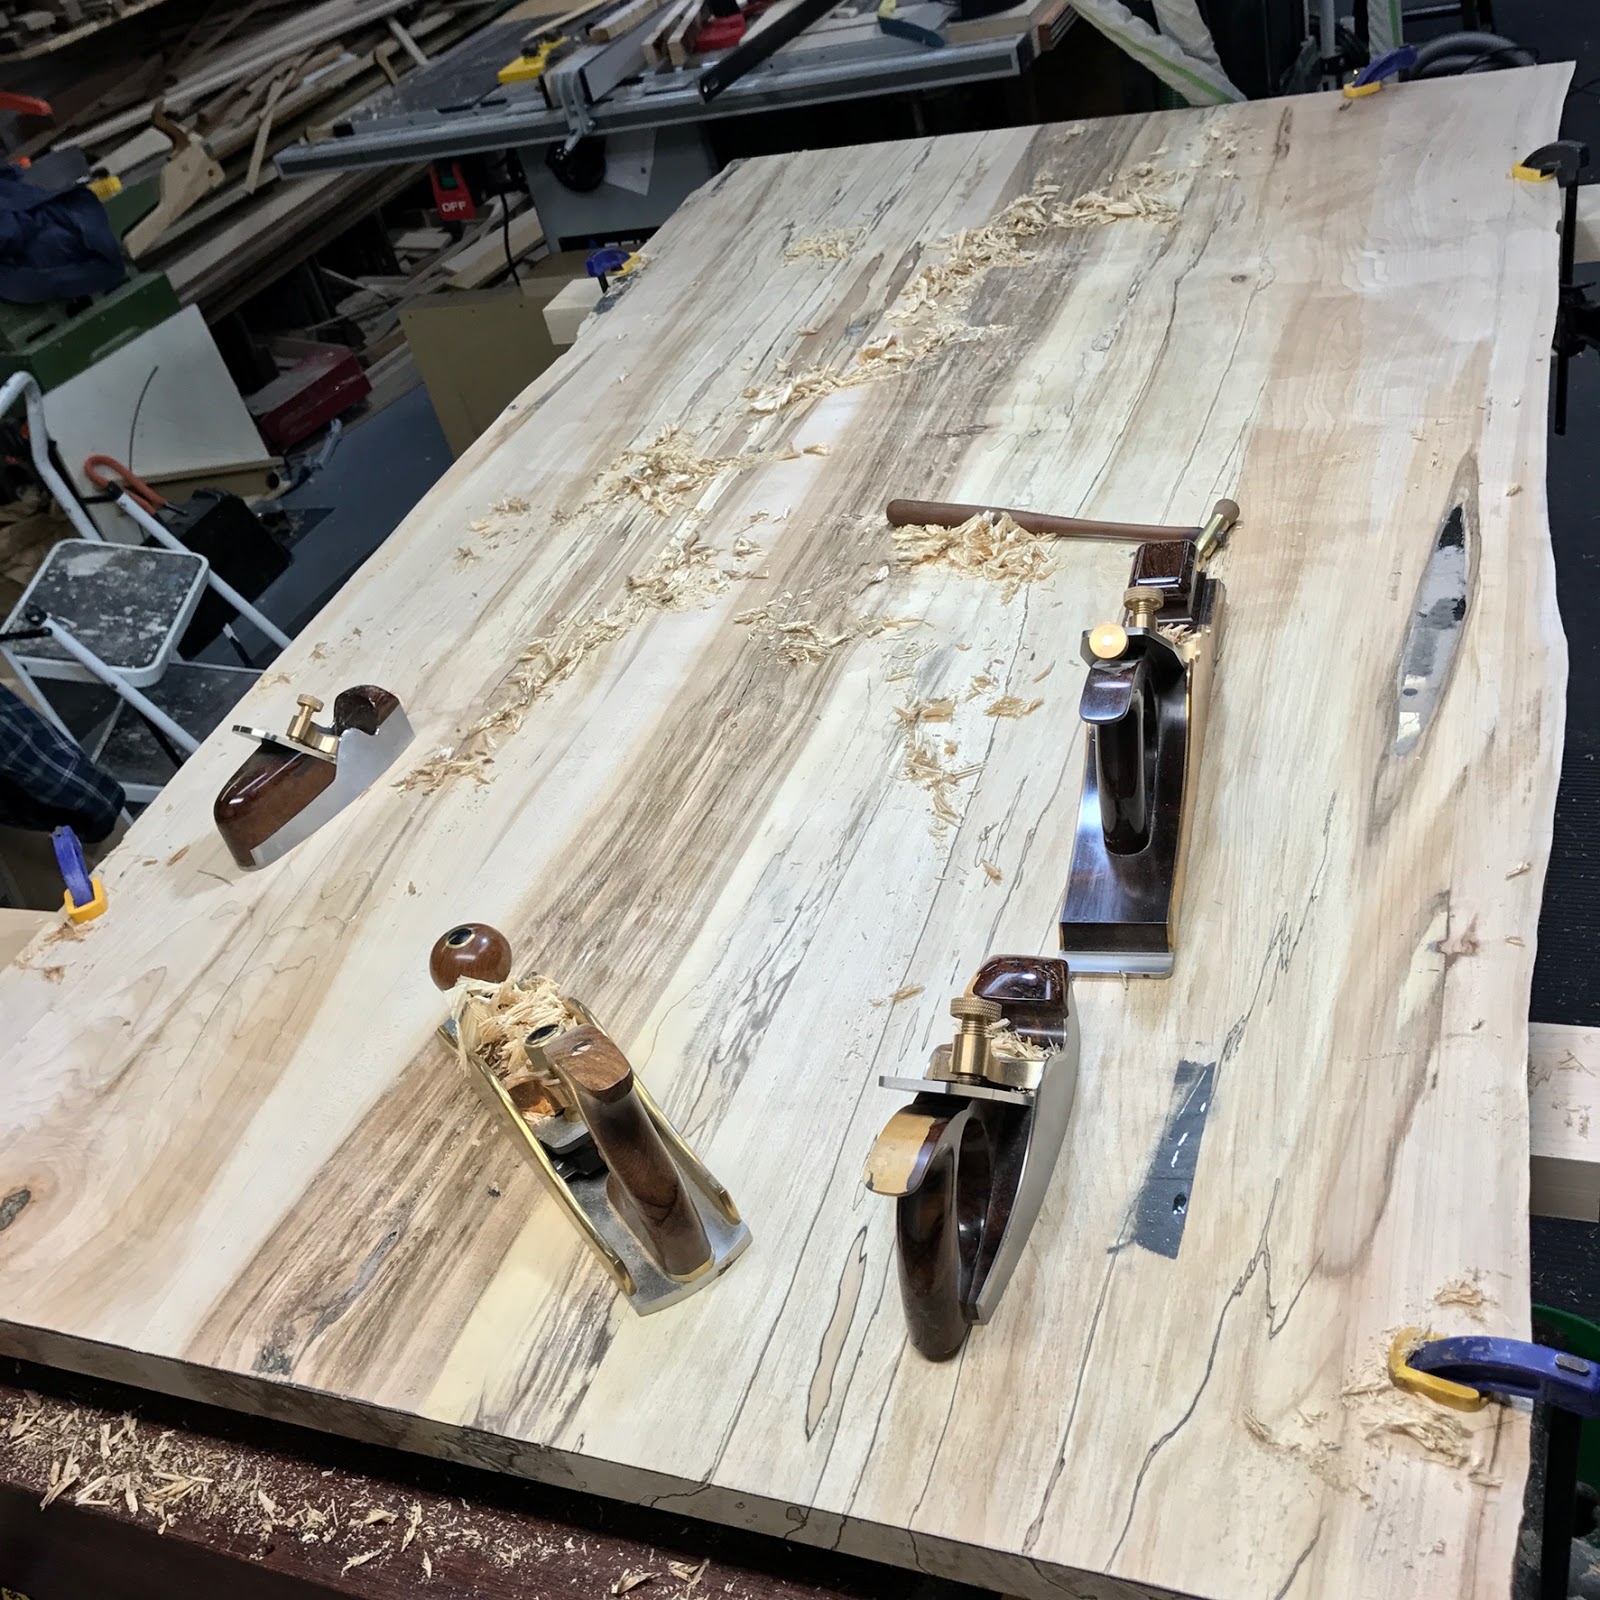 |
| Using a variety of my planes I removed the power planer marks, and then proceeded to flatten the top. I also used some colored epoxy to fill some major voids and checks to make it mostly smooth - not like glass but close. |
 |
| The top complete with a coat of sealer varnish. |
 |
| All the base components ready for some assembly. The"Y"'s will be tenoned into the feet. I chose an interesting live edge piece for the stretcher and tenoned the ends to fit into the ends. These would be bolted using Lee Valley bench bolts and the exposed bolts covered with a false cap held on with magnets. |
 |
| Test-fitting the modesty caps and drilling slotted holes to attach the top. The top will be attached with lag bolts in waxed slots to allow top movement. |
 |
| Fitting the base to the top - all good here and fully assembled this table has to weigh more than 200 lbs. |
 |
| In all her glory |
 |
| Close-up of the unique base design. |
 |
| A Lazy Susan using an offcut from the centre section of the table. |
 |
| A segmented bowl to be used for whatever purpose is desired. Of course I made a segmented bowl in 1/12th scale for the table - both these bowls have 27 pieces of wood in them. |