A place for me to display some of the varied projects that come out of my shop, as well as to "talk" about some of my experiences working with wood.

Monday 28 May 2012

Off my Rocker? or New projects update

After finishing the dining room project, I needed to clean up some smaller projects that have been lingering and also do some turning as I had avoided it since the spindle turning marathon of a few months back. The mallet from the last post was the most interesting thing turned.

Rocker by the master himself - Sam Maloof

Every woodworker I know has a "bucket list" of projects that they must build in their lifetime. As with many other woodworkers, my list includes a rocking chair in the style of Sam Maloof  - this iconic rocker is a test for every woodworker and a true accomplishment for everyone that completes one.

There are several chair makers out there who have specialized in this form and have developed a business out of showing others how to build this rocking chair. I looked at them all, as well as read the reviews on their videos and settled on Hal Taylor for a number of reasons:

Hal Taylor rocker in English Walnut

  1. The reviews of his materials and his accessibility via email to answer questions was consistently very good.
  2. Not only was a video available but a 256 page e-book explaining things in extreme detail which improves the understanding of an extremely complex project.
  3. Hal also has designed his plans to be built in various sizes for different size people, since the first rocker will be for my wife, it important to have a chair to fit her smaller size - after all a rocker is all about comfort!
  4. Most importantly, the styling of Hal's interpretation of the Maloof rocker pleased me the most. In particular the styling of the backrest, which is coopered and shows vertical grain which has an aesthetic symmetry with the seat which is unique among builders of this style of chair. I also prefer his interpretation of the rocker itself by eliminating the re-curve at the tail of the rocker.

So I proceeded to order the media from Hal, and for the past couple of weeks reading through the material and watching the videos while on the plane travelling for work. The complexity is overwhelming at times, until you watch the many hours of video to the end and see how the chair comes together in the end. Only then, does all the process come together into the completed rocker. You also get an understanding of the genius of Hal's approach where he makes what appears to be an obtuse step early on that saves much work later on in the project. This rocking chair is essentially a three dimensional sculpture with many complex nuances tossed into the mind boggling trigonometry of building a comfortable rocker.

Scott Morrison Shop Stool
Having built the dining chairs will be a tremendous asset here, particularly when carving the seat of the rocker, but I felt I needed more preparation dealing with the very complex joinery of the Maloof-style so I started an interim project to build while roughing out materials and creating jigs for the rocker build. I am building a shop stool using a plan from Scott Morrison, another builder in the Maloof-style who has developed videos and plans for these projects.

This project will require a more heavily carved seat than my chairs, as well as some carving on the joints which should help improve my skills in this area before tackling the rocker. I will be building this stool with a cherry seat and backrest, and keeping with the style of my chairs, I will use Ash for all the vertical elements.

A few pictures of progress on the rocker while I work though the stool. I am building a petite and a medium size rocker for my wife and I, both from cherry.

Laying out the wood and grading for the grain match. (there is enough
wood here for 2 rockers plus a few other things),
I am hoping the wood marked "Match A" will give me 2 rockers.
Do you see rocking chairs hidden in their somewhere?

Lots of jigs and templates necessary for this one!

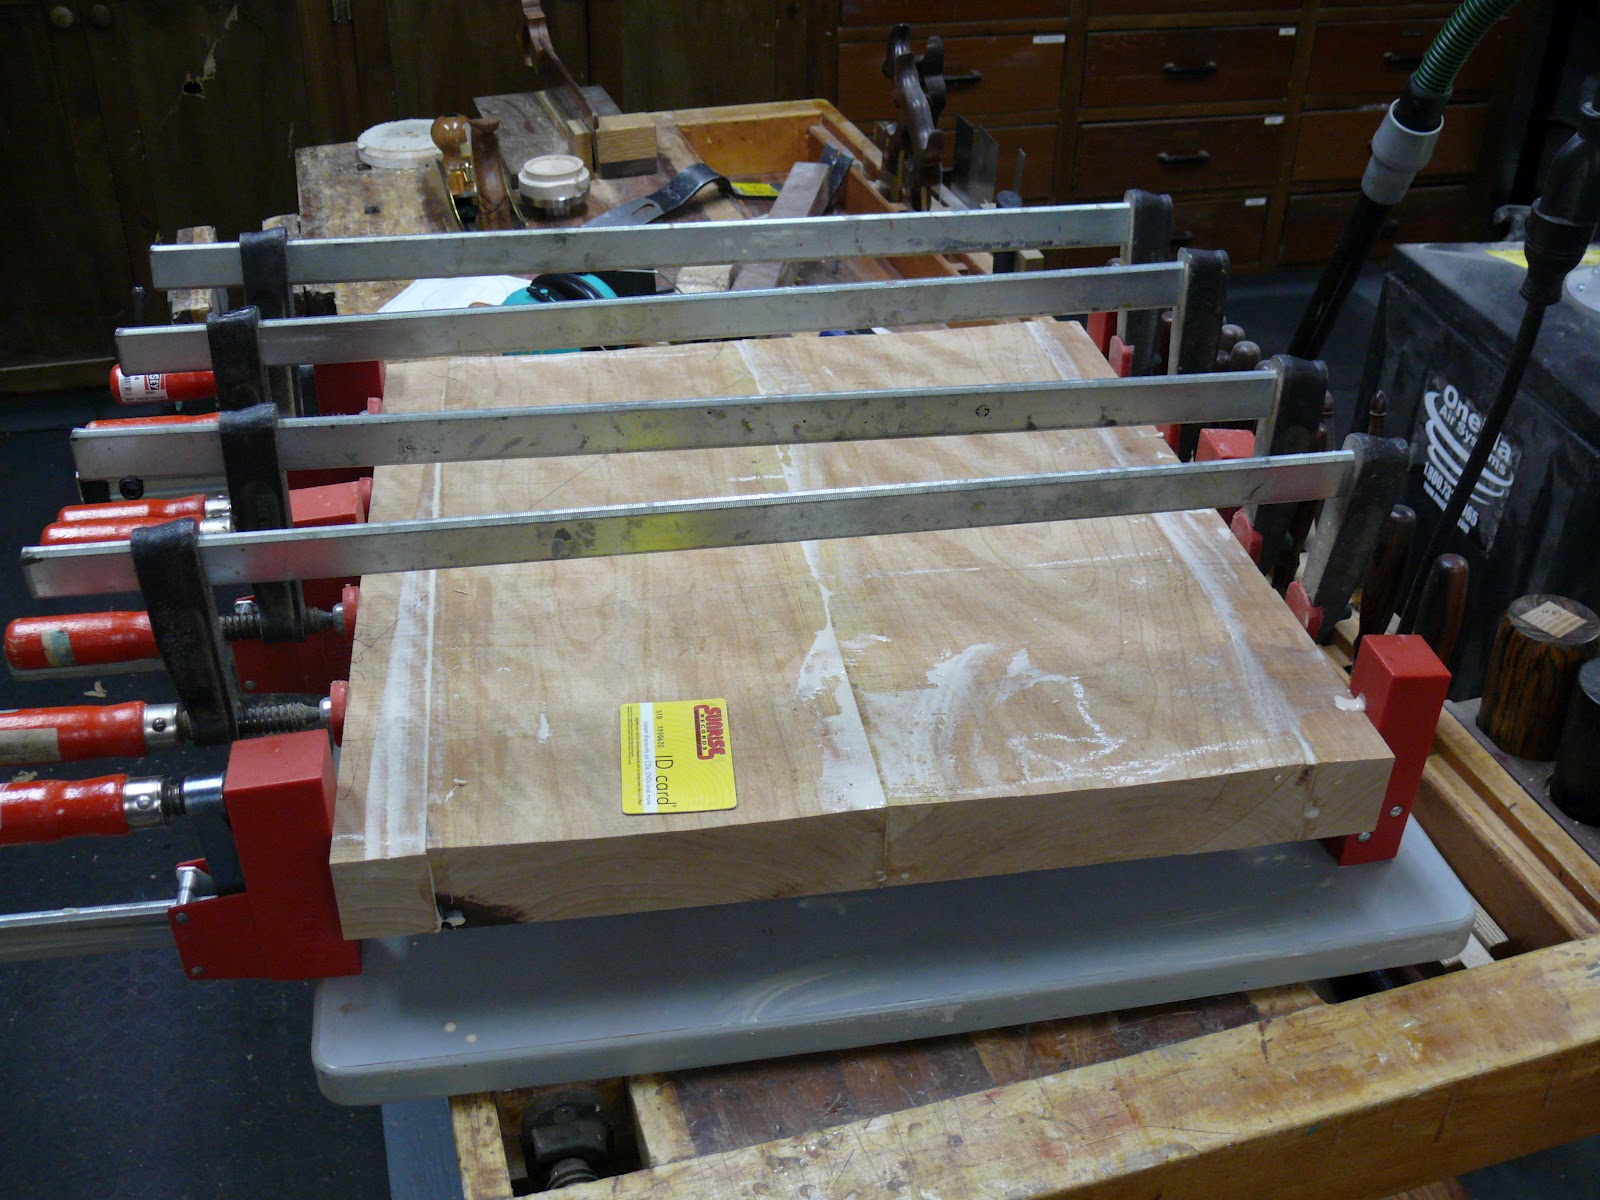
Seat glue-up for petite rocker.

Petite seat again and back legs for both roughed out


Gluing up plywood to make bending forms for rockers and back braces
(there are 6 pieces of 3/4" 10"x48" glued into 3 pairs for cutting into forms


Wednesday 16 May 2012

Some Tool Updates

Finally back to cleaning up some shop projects which I have been noodling on for a while. I have been reading quite a bit about mallets on the WoodNet forums, so decided to turn a few of my own. I have also picked up a new plane from Philip Marcou in New Zealand which is the most unbelievable smoother I have ever used.


Cocobolo Mallet


This mallet is glued up around a square core of ash, and the nice straight grain of the Cocobolo makes the joints  harder to discern. This mallet weighs 12 oz. overall which is a bit light but will work nicely for the smaller work and complement the heavier ones I got from Blue Spruce.

Cocobolo Mallet with Ash handle

Another View

Marcou Smoother

I recently ordered a new plane from Philip Marcou of Marcou Planes in New Zealand. This S20a smoother is one he had made up using a local hardwood known as Black Maire. I particularly liked the fact that a Kiwi plane was made using a wood only grown in New Zealand.

This plane is one serious piece of gear, weighing in at over 8 lbs, it is VERY stable in use. the adjustable mouth and thick blade make for some pretty thin shavings one can see through - can't wait to use this on my next table top.


Marcou Planes S20a Smoother - rear view showing blade adjuster and holding mechanism.

Marcou Planes S20a Smoother - front top view showing mouth adjustment screws and nice detail in front knob.
The new plane in use smoothing the mallet blanks for the next glue up stage - smooth baby.


Happy Shavings.


Friday 4 May 2012

Tool Photos

Had a chance to do some shooting today on a couple of new tools I picked up recently. Click pictures for full res version.

Gent's Saw


Left side of the Gent's saw
The first is a Gent's saw I had made for me by Two Lawyers Toolworks in Germany. The handle is Bavarian tiger maple which is the same wood I used in my archtop guitar body. The engraving on the back is part of my logo and a few instruments in outline. the other side of the back is one of my favourite music licks.  The engraving was done by Catharine Kennedy who does exquisite work!

Right side of the Gents Saw - That's "Layla" by best guitar player ever.


 Plough Plane by Jim Leamy

I was visiting a buddy of mine a while back and he had a replica plough plane made for him by Jim Leamy. His was a centre wheel full size plane. Once I picked it up (big mistake) I had to have one for myself.


Jim Leamy 3/4 scale Plough Plane


Jim Leamy 3/4 scale Plough Plane - side view
Now I normally only buy tools that I am going to use, but this was going to be my venture outside that truism for once (I hope).  I emailed Jim that very night and started a dialogue on what I wanted. Since this was not going to be a user, I felt I could go with a scaled down version, so this 3/4 size was large enough to show the detail, but not so big as to take up a lot of space as a showpiece. Don't get me wrong, this plane is very usable, and at 9-1/2" long it does what the bigger one does just as well.


This example is typical of the centre wheel plough planes of past centuries and is executed in Curly African Blackwood, and the white bits would have been ivory on the original, Jim has used fossilized mammoth ivory instead. I am very pleased with the final result and this piece will find a place of honour for all to see.

Jim Leamy 3/4 scale Plough Plane - other side view
Typical old-style plough plane


Another shot of this amazing piece of usable sculpture.


Here's a shot of one of those old schooley jobs that has been well preserved.

Taking a bite (shaving) out of some apple

Needed to smooth out a short piece of Apple for a project I am working on and thought it was a good opportunity to try out my new hand plane I made a few weeks back. This is a Krenov-inspired small smoother made from cocobolo, with a Ron Hock blade and chipbreaker I bought from Lee Valley.

After a quick sharpening and few taps with my Daed Toolworks plane hammer it was ready to go. Nice thin shavings and this board was flat as a puncture in no time! I shaped this plane to exactly fit my hand so it is incredibly comfortable to use.

Cocobolo smoother at work

Is he intense or what?
Very satisfying to use a tool you made yourself on a special project.